Showing posts with label Bags. Show all posts

Saturday, November 27, 2010

Catching Up

Firstly, thanks very much for all of the lovely comments from my previous post - much appreciated!

Now for a quick round up of happenings from my studio.... 2 simple little skirts for my 13 year old - just like shop bought ones! I used thick black elastic and gathered up a rectangle of fabric to attach to the elastic.


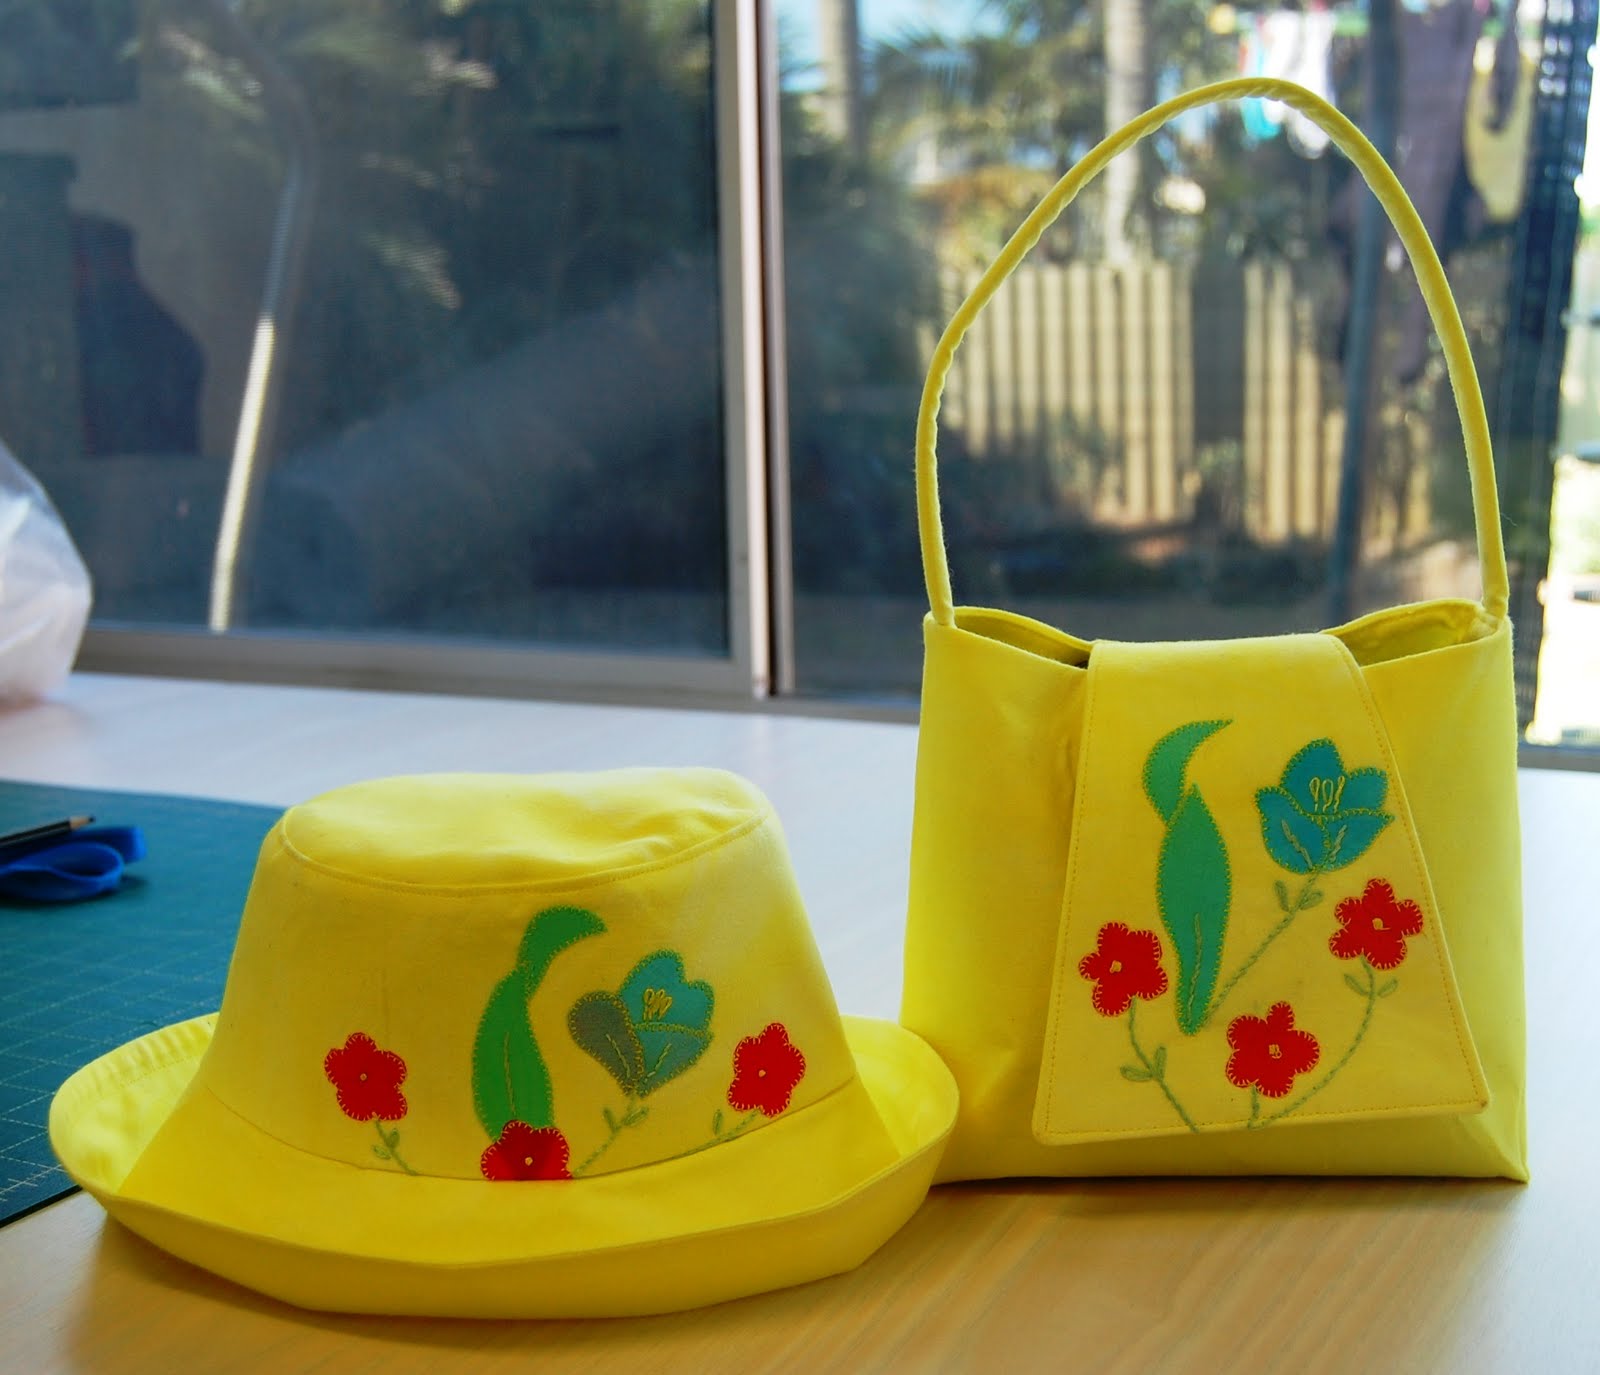
Next, I'd like to show you some of the things that my students have been working on ... I often forget to photograph their stuff - I will try to get more... Here is L's bag. L is a uni student studying to be a Technology teacher - she came to me to upskill herself in Textiles - she worked on a range of decorative techniques to make coin purses and this bag.
She also refashioned a plain black jacket to a sleeveless jacket and put the sleeves on as "tails" with lots of machine embellishment - very clever! She is prac teaching at the moment and is sharing her new skills with her Yr 7 and 8 classes - Good Luck L!
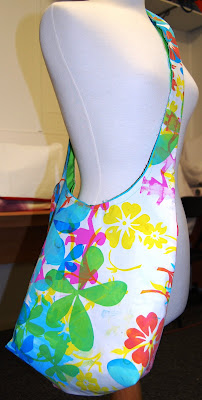
These are S's bags - she is an accomplished bag maker! The one at the back is from Hot Patterns and the others are from a Vogue Pattern - great for using up little bits of fabric. Great work as always S!

And this is Nicole - she made a fantastic denim skirt using an independent pattern - the name of which escapes me at the moment - but I'll find out - or maybe she'll leave a comment to tell us? Anyway, she used strips of a Japanese craft print to highlight the gores in this skirt - and it fits her beautifully!

Great work Nic!
Back to me ... and here are some pants from Butterick 4077


Fabric is a superfine Cashmere - from the Fabric Store (Surry Hills) and the pants have a faced waistband and cargo pockets - no particular fit issues - I cut a 14. The top is the JJ Blouse - free pattern from Burdastyle - this is a great little top! Fabric is a black spotted cotton voile.

I recently did the Pants Fitting Course with Sue Neal - the Palmer Pletsch method. It was a great 4 days at the Martin & Savage premises in Sydney. We tissue fitted, cut and sewed and I will photograph 2 pairs of pants I made soon. Here is one of Sue's samples of a mock fly, pocket stays and pockets.
There are always a couple of naughty kids in every class - and here they are .....
playing dress ups with fabric scraps ....
And here we all are with our certificates and champagne after 4 long hard days!!! Thanks Sue - great course!

Tuesday, August 31, 2010

Take 2 pillowcases ...

Pillowcases, Pillowslips??? Anyway these 2 came from my next door neighbour, they are very old and I suspect the applique was done by hand ???
Dye them a new colour ( I used Procion from Batik Oetero - just up the road no less!) and make a little pillowcase dress. There are tons of tutorials around for pillowcase dresses. I cut away an armhole shape from a previous pattern - made a nice wide casing for some elastic, and then made some bias strips to attach to the armholes that then become ties. The back of the dress is identical to the front - that's where the 2 pillowcases came in handy.


Of course, that is real cute, but I had some leftover fabric ..... a hat! I used this pattern:
and tried to copy the applique design for the hat - difficult to match colours etc but I did my best ..

Of course, I gal needs a bag to go with the hat, so I used the Evening Bag pattern ... I made the straps from boning covered with lightweight pellon and then covered with a strip of fabric pressed through the bias maker - not enough fabric to cut actual bias strips - but it did the job.
Actually it was difficult to get any of this on the grain as I was dealing with scrap pieces - but it all worked out in the end ...
Very difficult to photograph this little trio ....
And here are the leftovers - nah - need to STOP right here!!!
Re Use - Re Cycle - Re Fashion - come along to the Living Smart Festival - Sept 12!

Monday, August 30, 2010

Bag O' Ties and Skirt Bag

More refashioning for my workshop at the Living Smart Festival - Sept 12.

Take 16 men's ties - unpick the the centre back seam - follow this pattern and voila!


After plaiting the straps there really wasn't much of the ties left!
Don't forget to use the labels as a feature ....

Take one out grown pretty skirt ....

add some linen from brown pants that had been discarded ....
add a few more rows of embellishment to bring the 2 new bits together .....

Add a boxed corner (see Nicole's Patterns for boxed corner info) put some Peltex in the base to hold a nice shape ...
add a magnetic catch ..... and a Yo Yo ....
And voila! Can't tell you how much I love that word ..... VOILA!!

Saturday, July 4, 2009

Who Needs A Vacation?

Looks like Betty does!.. but before Betty leaves us, here's a brief round up from my clever students ...

Nicole made a great Swing Bag in Sewing Basics 2 ...
Denim and Betty Boop doin the do .....


Here is Cherin's BEFORE ...
And AFTER!

Chop off the hem, put a few pleats in the base - seam it up, make a strap ... and it's UPCYCLING at it's best ... lovely soft leather ......

She's certainly a Kool Kat!
Now ..... the Scottish lassies came back for a Beginners Bag from NicoleM's range ... here is Anne's super glam Day Bag ...
Just marvel at that posh lining!
And here is Alison's super fab Beach Bag .... strictly speaking this is not a Beginners bag, but Alison IS very gifted!

Complete with Purse Feet of course ....
It's a great print - well done Girls!
Speaking of holidays, the NSW school holidays are soon upon us .... why not come along to one of my workshops? Not just for kids .... check out the timetable on my website ......

Sunday, April 19, 2009

Creative Holiday Happenings

There has been plenty of activity at Handmade Sewing Studio these holidays. Here are some of the student's completed items ......

A cool swing bag with some great text printed fabric simply appliqued on the outer flap. This pattern is one that one of my school colleagues designed for our Year 8 students. At school, we tie dye the lining fabric.

This next bag is a bit of a sampler of techniques .... when you don't know how to embellish why not try everything? There is some quilting, some Angelina Fibres, some Chenilling, some gridded patchwork, hand embroidery ......

It's a festival of colour and techniques .... a great achievement for a beginner sewist! The bag design is the same as this one ...


We've also been printing and dyeing and making bags ...


Screen printing is great fun - a bit of messing around - but the results and process is great fun!

It really makes you appreciate how professional fabric designers and printers can do it all so neatly with the correct "repeats" and everything ... but hey! I also enjoy the uniqueness of the HANDMADE look!


After the printing, some of the designs were carefully cut out and appliqued onto a dyed piece for a bag panel ...
The young lady that did this one, then meticulously machine stitched around this rather detailed shape - she did a great job! She used an applique foot and a tiny stitch length - didn't need to drop the feed dogs - due to the brilliance of my Bernina machines (!) - can't help myself!!!

This next cushion features an image printed onto fabric via an inkjet printer ... she then appliqued the design onto some dyed backing fabric.

This is the back of the cushion in the process of attaching some self covered buttons . I think it is very satisfying to not only make an item, but to have coloured the fabric and make design decisions all along the way - you couldn't be more unique and individual - unless of course you actually made the fabric as well - but I can't see 13 year olds enduring that task!


And finally, here is bag made by one of my INTERNATIONAL students .... Anissa is from Belgium and she recently started lessons as a beginner .... she made this bag as a first project from bits and pieces of fabric from the studio ..... same as the previous design ....


The plaited straps are a real feature of this bag! Great work Anissa!