A baby shower .... it's a funny term isn't it .... anyway, there's a new McDonell baby imminent (and it's NOT mine) .... and every new Mum and Dad need a big bag for all that stuff ....
Here is the Beach Bag made into a Nappy Bag ..... featuring Saffron Craig's Parrot Fabric - a gorgeously detailed and pretty print ..... Three big compartment pockets - two on the outside and one in the lining, a zippered gusset closure ..... this is a fabulous bag pattern. Also has 6 cute purse feet on the bottom.
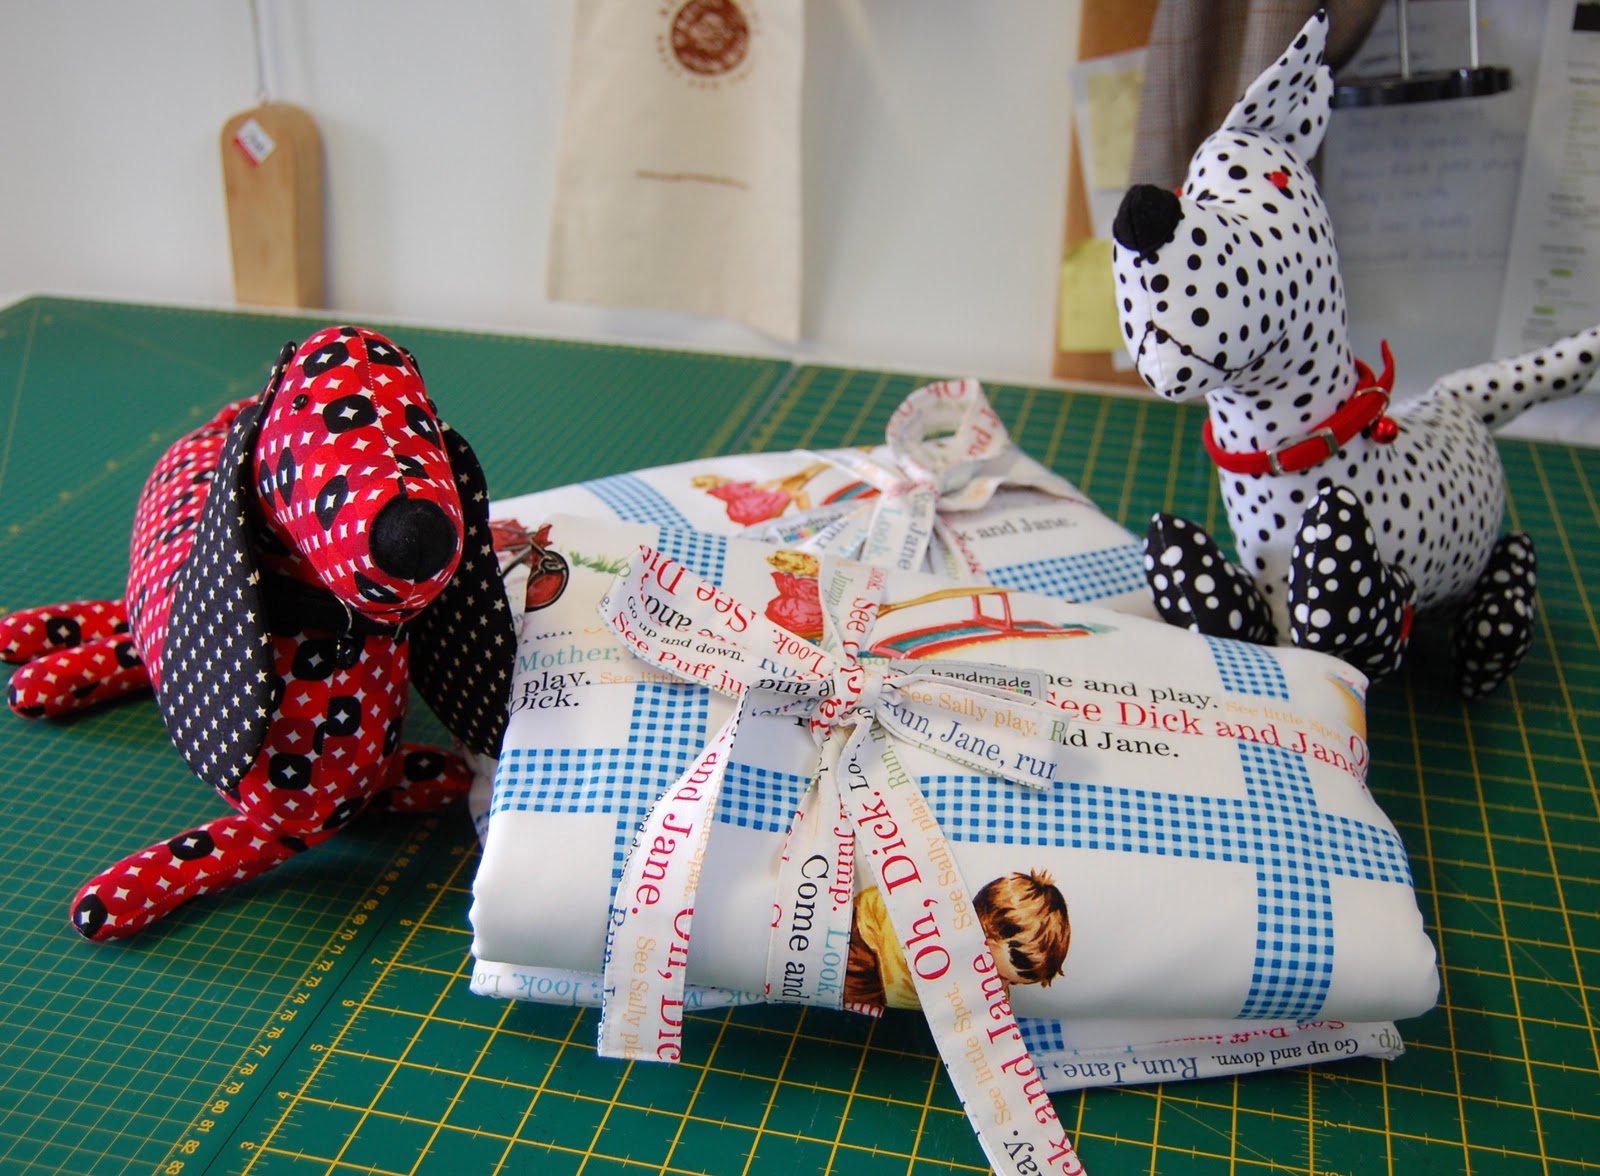
And .... another Dick and Jane Folding Travel Change Mat, pattern from the Clever Miss Nicole Mallalieu.
And the gifts were gratefully received ...... now to just wait and wait and ...........
And I have 4 Beach Bag Patterns left in stock - contact me if you'd like one for the SPECIAL price of $15 AUD and free postage in Australia.
Showing posts with label NicoleM Design. Show all posts
Monday, April 16, 2012
Friday, December 16, 2011
Home Sewn Gifts for Baby
Sally & Smith Puppies - Pattern by Ric Rac as seen previously
and a great little travel change mat from Nicole Mallalieu ....
For this one I used thick towelling ...
And this one, quilted calico ...
Welcome to the world Chloe and Emmerson!!!
and a great little travel change mat from Nicole Mallalieu ....
For this one I used thick towelling ...
And this one, quilted calico ...
Welcome to the world Chloe and Emmerson!!!
Friday, September 2, 2011
Nicole M's A Line Skirt
Nicole M has released a new skirt pattern. It's an A Line with a wide yoke. For this one I used a grey wool crepe from Block and Roll at Belmont and I pieced together some Lisa Ho Silk that I've had in the stash for many years - from the Fabric Store, Surry Hills.
The Lisa Ho Silk has two pretty sides - I fused on some soft Hansel Interfacing onto each side and pieced some strips together. This generally made a wedge shape -I attached a binding to each side.
I lined the skirt and added a little lined section to the bottom of the panel piece that would hang below the hem of the skirt.
I also fused a piece of Hansel to the wrong side of the skirt where the panel would be attached.
Here are the pattern line drawings.
This is a fab pattern - it's a gentle A Line as opposed to a circus tent A line that you often see. The yoke is firm and snug.
Here is a shorter version - made in denim and I added a ruffled piece of the selvedge to the hem. I made this one before the wool/ silk one - my first was cut as a 12 - but had to take in about 2cm on each side, the wool version was cut as a Size 10 - but as I handled the wool piece so much, fiddling around with the panel placement etc - it grew and grew - should have stay stitched the waist early on - so ended up taking it in as well.
Excellent instructions - and just the best way to secure the yoke around the invisible zip - LOVE IT!!!
Wednesday, August 31, 2011
Handmade Baby Gifts
Friends of ours recently had a baby ...... so I was happy to make a few little things to welcome Baby Luc.
I used Nicole M's free Bib Tutorial and managed to get some Dick and Jane fabric from Block and Roll at Belmont. The towelling also came from Block and Roll - it's lovely and thick.
I used 12mm wide blue gingham purchased binding - and it wasn't easy to sew on in one hit - I had to zig zag it on first and then turn and stitch down - quite a fiddly little job!
This is a cute bib pattern - highly recommend!!
I also made a another little backpack - in the same fabric combinations as before - this time I added a little loop / strap so that it can be hung up.
Baby Luc lives in Indonesia and he's already travelled back to Australia recently, so I think this little fellow will need a back pack with a transportation theme as he grows! This is a fabulous pattern from Nicole's new book.
Finally, I did a rolled hem around some lovely bamboo / cotton interlock fabric for a wrap.
Welcome Baby Luc!!!
Thursday, August 11, 2011
Sirdar Weekend Denim, Style Arc Laura Top and a Satchel
After my last knitting marathon, I was determined to find a pattern that would better suit my needs (that is = easier, quicker) ...
Button from Newtown - All Buttons Great and Small
The lovely people at Stitch Bliss suggested this knitting pattern book ...I chose this design ...Design I .... and I used Sirdar Denim Ultra Yarn (60% Acrylic, 25% cotton, 15% wool), Shade 502 ...
They also recommended this book which is a fantastic resource, I didn't even have to ask mum to help me make this one - everything is explained ....
step by step with lovely clear photographs
... but even armed with all this I failed to change needles after starting the rib rows, by the time I realised I had already made good progress, and my family urged me not to undo what I'd done ... I was willing to .. anyway, I was so carrried away with enthusiasm that I just carried on and so the finished garment is a little out of "whack" - I really don't care - it's wearable - and I've learnt a great lesson!!! This was a great project to work on - very quick and straight forward - I'm keen to make another one - properly this time!
I made a long sleeve tee from my Laura Dress Pattern from Style Arc - just taped together the yoke and main pieces, and of course made it shorter. This is a great pattern - too easy!
And to close with ... one of my students recently finished her Satchel bag, using the Large Tote and Satchel Pattern from NicoleM Design - a very popular pattern around these parts! She chose a great Japanese inspired quilting cotton for the flap. The pattern was modified slightly - made a tad larger. Great work Nic!!!
I've tried 3 times to insert this photo correctly! Arrrrgh! Just stretch your neck gently to the right .... lovely!
Saturday, July 30, 2011
Preschool Backpack and a Satchel
I couldn't wait to make this ....
A super cute little backpack ...
In "Transportation" fabric - with a nostalgic bent ...
From this rather excellent book .....
In fact, it was so much fun that I made a slightly larger version:
.. in corduroy with a pretty print .... I think Nikki is at the Melbourne Quilt Show this weekend - buy a book a she'll sign it for you!!
Sewing Notes:
Nicole Mallalieu's recent book "You Sew Girl" covers sewing skills (equipment, gadgets, all about patterns and techniques) and projects including accessories, bags and purses and pattern free clothes. There are 19 sewing projects in total.
The patterns are printed on separate pieces of nice quality paper - you don't have to open out a huge road map to find your project pattern.
Fabric:
For the preschool backpack I used a solid green organic cotton canvas from Marcus Brothers - this is a lovely quality fabric - as well as coming from organic cotton they also claim that the fabric was dyed in an eco friendly manner - I believe that this particular fabric has been discontinued - but you may still find it around. For the contrast I used a "Transportation" panel from Marcus Brothers - the colours and authenticity of the vintage style is delightful. For the larger backpack I used two baby cords with a small floral print from a little patchwork shop at Nundle, NSW.
General notes:
A super cute little backpack ...
In "Transportation" fabric - with a nostalgic bent ...
From this rather excellent book .....
.. in corduroy with a pretty print .... I think Nikki is at the Melbourne Quilt Show this weekend - buy a book a she'll sign it for you!!
Sewing Notes:
Nicole Mallalieu's recent book "You Sew Girl" covers sewing skills (equipment, gadgets, all about patterns and techniques) and projects including accessories, bags and purses and pattern free clothes. There are 19 sewing projects in total.
The patterns are printed on separate pieces of nice quality paper - you don't have to open out a huge road map to find your project pattern.
Fabric:
For the preschool backpack I used a solid green organic cotton canvas from Marcus Brothers - this is a lovely quality fabric - as well as coming from organic cotton they also claim that the fabric was dyed in an eco friendly manner - I believe that this particular fabric has been discontinued - but you may still find it around. For the contrast I used a "Transportation" panel from Marcus Brothers - the colours and authenticity of the vintage style is delightful. For the larger backpack I used two baby cords with a small floral print from a little patchwork shop at Nundle, NSW.
General notes:
- You may need to think about very strong sewing machine needles if you're going to use a fabric other than quilting cotton weight - parts of this project require you to sew through many layers - you need a machine with grunt!!
- The instructions are very well laid out - the spiral bound book is great to just flip and concentrate on one page at a time.
- All requirements for the project are clearly set out.
- The seam allowances are 1/2 inch - which converts to 1.26cm - at times the instructions say 12.6mm or 1.25cm - I know that it's all the same - but it may confuse some people.
- EDITED TO ADD: on page 99, the diagram under point 1 is incorrect (edited to add: actually the diagram is not incorrect - I do apologise for this - the way I interpreted the diagram was that the long edge of the Back piece was being stitched to a long edge of the front piece, when actually it is stitched to the short side of the Front - the diagram in the book shows that the Back piece is sitting ON TOP of the whole Front piece - it's the underneath parts that I didn't see - thanks Nikki for clarifying this) , all other diagrams are very well set out and the photographs are very helpful as well. There are handy tips throughout the instructions.
- If I make this again, I would add a little strap as a mini handle in between the top of the straps.
- A bias maker is a handy little gadget to make the bias for around the flap - I use mine all the time.
- p 103 - Line the Bag - the pattern suggests as 12cm gap for the turning through, but as mine was made with a fabric on the heavier side I would suggest leaving a larger gap - otherwise the turning the bag the right side out can become an anxious experience.
- Finish the Bag (p103) Step 1 - slip stitch the CB seam closed - strictly speaking it is not a CB seam but a side seam - and I pretty much always machine stitch the gap together.
- I used a plastic toggle to fasten the cord around the
- This is a great sewing project. The finish is neat and professional. The use of the metal slide adjusters and rings adds that special touch. There are lots of possibilities for contrasting fabrics. A strong, sturdy and special backpack for children.
- To make the larger bag, I just experimented with making the pieces wider and longer. It's really not that difficult - make the basic preschool one first and then modify accordingly.
- Looking forward to making other projects from this book!
Subscribe to:
Posts (Atom)