Showing posts with label Denim. Show all posts

Sunday, August 14, 2011

Rose Panel Skirt

Fabric from Tessuti's - a Rose panel printed on Denim.


I've had much trouble loading photos on blogger recently, mainly the ones I have to rotate - they won't upload in their saved rotated form ???? So my lovely daughter introduced me to Picnik and now I have made a collage!

Plain and simple straight skirt from a pattern drafted for me at Studio Faro in Sydney in 2005.

We've had a wet and grey quite miserable day here today, so it was lovely to have a glimmer of sunshine just as I finished this project - down to Pelican Marina for a location shoot.

Hope you had a great weekend!

Sunday, April 24, 2011

Modified Sling Bag

Inspired by this

I made a Sling Bag - I modified the design by lengthening the body of the bag by 3".
 I raw edge appliqued a variety of printed fabrics to the body of the bag.

 I made this for my nephew's fiance's birthday ... Happy Birthday Kim!!


And to close with..... a couple of my daughter's snaps from this Easter weekend ....
Sunset at Valentine,NSW 23rd April, 2011


Have you entered my give away? You could win a Style Arc Pattern - a Sara Jacket - leave a comment on this post.

Friday, September 24, 2010

Does my apple look big in this?


I made a quick and easy A- Line Denim Skirt, to test out a pattern I had from a Pattern Drafting Workshop I did in 2005 at Studio Faro in Sydney. I have many Size 10 Blocks from that experience and a few drafted to my size (from 2005). Sue Neall from Palmer & Pletsch teaches us to write down our weight at the time we open a new pattern and begin making adjustments - a very good idea - I've got no idea if I was bigger, smaller or the same now as I was in 2005 - anyway, I had to take in the side seams about 1.5cm each side. I thought the denim needed a lift so I used some apple print to applique on 2 rows at the bottom - and I couldn't resist adding an apple right where the style people tell us to NOT add bits to draw attention!! Oh well, now I've fine tuned this pattern I've got a nice brown jacquard piece waiting patiently in the wings ....

Wendy are you out there? Wendy the winner of my giveaway - please contact me by Sunday - or there will be a redraw!!!

Wednesday, September 8, 2010

From Denim Jeans to Panel Bag

Every well dressed young Miss needs a fab bag to go with her fab outfit .... and this thoroughly modern Miss prefers to upcycle in the most sustainable way she can ....
Denim would have to be one of my favourite fabrics to sew with.... and sewing with recycled denim is even better - it's soft and strong and full of character.

My friend Nicole and I made this bag using her unwanted jeans. I was keen to try Nicki's new Panel Bag pattern and I was also keen to add a feature of the shrinking sheet effect that I have used previously.
I altered the pattern by adding 5cm extra length to the bottom panel pieces of this bag - I wanted to show off as much as the feature fabric as I could. The shrink sheet is placed underneath the feature fabric and stitched - I used a serpentine stitch with about 3cm gap between each row of stitching. You then steam iron with the iron hovering above the fabric - not touching - the steam makes the fabric shrink and shrivel right before your eyes.


Of course denim loves to be topstitched - I used this Guterman thread - it's an upholstery thread with a denim 100 needle - worked a treat ...


I reused the jean pocket for an internal pocket ...
Added the obligatory brassy rings ... and I also stitched on the jean tag - though it did rip a little as I tried to unpick it - but stitched it on regardless ... the red piping really highlights this bag ...

and a brass magnetic closure ....
And ..... where is she off to this weekend?

Sunday, April 11, 2010

The Perfect Canvas


Nicki describes this bag as "the perfect canvas for embellishment". And indeed it is.
Sometime ago I played with screen printing some foil adhesive and applying metallic foils. I printed some denim and put it away.
I cut out this bag, and put it away.
Finally, it has been made!
All pieces (except for the strap) were interfaced and pelloned.
Magnetic closure inserted.Template plastic used for a firm bottom.

I used decorative stitch #86 on my Bernina Activa - which has a double or triple hand stitch type of effect - one of my faves!

Plenty of further scope for play with this pattern - and highly suitable for males!

Sunday, February 21, 2010

February Roundup

In the spirit of my consistent inconsistencies with blogging .... here is an update of stuff going on round here ......

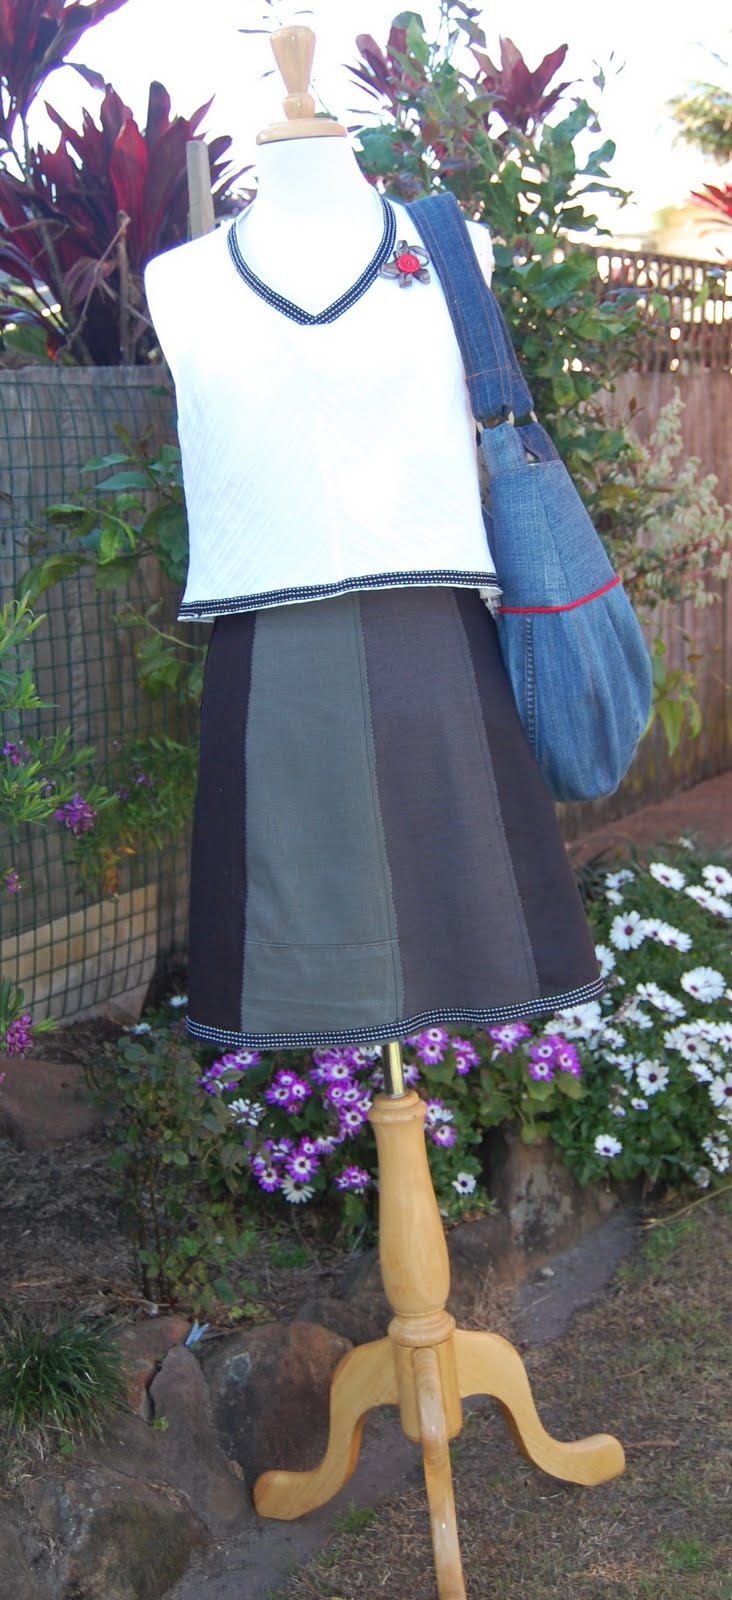
Firstly we have a rather lovely stylish bag made by Nicole - one of my students ....
I have taught her quite well = she has an excellent stash of great fabrics ...... here she has used a Pippijoe print with some lovely grey linen ....
Pattern - Nicole M's SQUARED FLAT BAG - well done to BOTH Nics!
Next up, we have the traditional birthday present (at the present time at least), this one is a cushion for a special young man who is rather keen on one particular NSW rugby league team ...
Images were printed directly onto Prepared Fabric Sheets on my inkjet printer.
I used bleached denim on the back - and I put in an invisible zipper along one of the sides. I use great big cushion inserts from Goldies.
Happy 13th Birthday Corey!
Now, here is a Mod Bag in production ... when sewing multiple lines I like to use this little gadget. You can set the distance of the little ruler, and away you go - it's called a Seam Guide with Ruler - very useful for beginner sewists to gain confidence or for when you know you can't really trust your eyesight accuracy ....


For sewing edges, I like to use #10 Edge Stitch foot for Bernina machines - the little metal plate glides along the fabric edge and you can adjust your needle position to get spot on topstitching.

And here is groovy little Mod - this is a great bag - nice and roomy - great proportions - and lots of design variations available. Fabric from The Fabric Shop in Surry Hills (Sydney).
Inside a did a compartment pocket and a zippered pocket - I also tried adding Pellon to the LINING - it did provide some added structure.
Now, for me. Today I made this New Look pattern.
View B, fabric fromSpotlight - a Summer Voile.

Really easy, I cut a 14. I am going to teach this little Boho top as a Learn to Sew workshop for the next School holidays. I have View A cut out in a border print - so hopefully I'll get that done ready to show you before March!

Tuesday, June 9, 2009

I've Topped a Trench

I made a Trench Topper. Here's the pattern from Indygo Junction.

I made it in denim and I used some Anna Maria Horner "Drawing Room" as a contrast - the fabric is a Home Decor weight - can't wait to try it in some bags. Here are the corded buttonholes I did.


Ever used a thing to cut open your buttonholes? Here's mine - a little tap tap and voila!


Not sure how old these buttons are .... but I'll leave the discussion about my local haby / wool / ladies "fashion" / lingerie shop for another day .... needless to say, their buttons are vintage ....

I made a Medium size.

Miss Maggie just HAD to nuzzle in on the act ...

I added the contrast to the cuffs as well as the front facing ..

This is a great pattern. I was very pleased with how well everything went together. There are 3 main variations with lots of interchangeable possibilities. I added a facing for the bottom section of contrast - so that the weight was equivalent with the denim. It's lime green cotton drill ...
Ok, so now should a trench get in my way .... I'll be ready to TOP it!