


Nicole Mallalieu's recent book "You Sew Girl" covers sewing skills (equipment, gadgets, all about patterns and techniques) and projects including accessories, bags and purses and pattern free clothes. There are 19 sewing projects in total.
The patterns are printed on separate pieces of nice quality paper - you don't have to open out a huge road map to find your project pattern.
Fabric:
For the preschool backpack I used a solid green organic cotton canvas from Marcus Brothers - this is a lovely quality fabric - as well as coming from organic cotton they also claim that the fabric was dyed in an eco friendly manner - I believe that this particular fabric has been discontinued - but you may still find it around. For the contrast I used a "Transportation" panel from Marcus Brothers - the colours and authenticity of the vintage style is delightful. For the larger backpack I used two baby cords with a small floral print from a little patchwork shop at Nundle, NSW.
General notes:
- You may need to think about very strong sewing machine needles if you're going to use a fabric other than quilting cotton weight - parts of this project require you to sew through many layers - you need a machine with grunt!!
- The instructions are very well laid out - the spiral bound book is great to just flip and concentrate on one page at a time.
- All requirements for the project are clearly set out.
- The seam allowances are 1/2 inch - which converts to 1.26cm - at times the instructions say 12.6mm or 1.25cm - I know that it's all the same - but it may confuse some people.
- EDITED TO ADD: on page 99, the diagram under point 1 is incorrect (edited to add: actually the diagram is not incorrect - I do apologise for this - the way I interpreted the diagram was that the long edge of the Back piece was being stitched to a long edge of the front piece, when actually it is stitched to the short side of the Front - the diagram in the book shows that the Back piece is sitting ON TOP of the whole Front piece - it's the underneath parts that I didn't see - thanks Nikki for clarifying this) , all other diagrams are very well set out and the photographs are very helpful as well. There are handy tips throughout the instructions.
- If I make this again, I would add a little strap as a mini handle in between the top of the straps.
- A bias maker is a handy little gadget to make the bias for around the flap - I use mine all the time.
- p 103 - Line the Bag - the pattern suggests as 12cm gap for the turning through, but as mine was made with a fabric on the heavier side I would suggest leaving a larger gap - otherwise the turning the bag the right side out can become an anxious experience.
- Finish the Bag (p103) Step 1 - slip stitch the CB seam closed - strictly speaking it is not a CB seam but a side seam - and I pretty much always machine stitch the gap together.
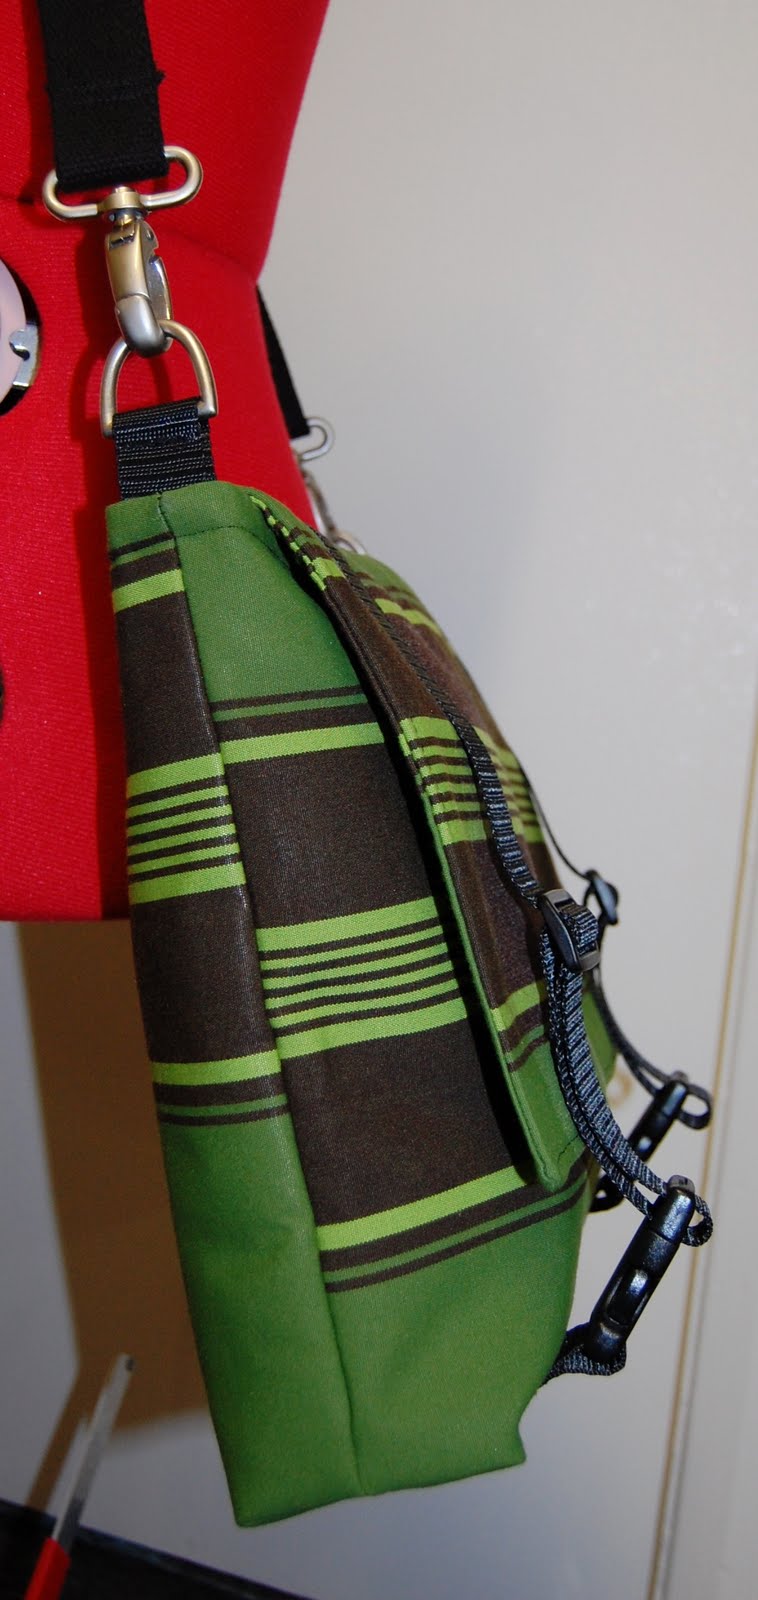
- I used a plastic toggle to fasten the cord around the
- This is a great sewing project. The finish is neat and professional. The use of the metal slide adjusters and rings adds that special touch. There are lots of possibilities for contrasting fabrics. A strong, sturdy and special backpack for children.
- To make the larger bag, I just experimented with making the pieces wider and longer. It's really not that difficult - make the basic preschool one first and then modify accordingly.
- Looking forward to making other projects from this book!
And just to finish ... one of my students finished this bag last night .... the Large Tote and Satchel made from canvas off cuts (cost - all of $1!!!) and he used a number of metal and plastic pieces for fastenings as well as webbing for straps. Excellent work!!!


These are great! Just bought the large tote and satchel pattern so it's exciting to see what can be done with it and the back pack is just too cute. I've been tossing up whether or not to get the book. Maybe it's time!
ReplyDeleteAdorable!
ReplyDeleteGreat work.... and I'm off to check out that incorrect diagram (first I've heard of it). And the seam is at CB in all the bags I've made(is it a misreading of the diagram you thought was wrong...?).
ReplyDeleteI ADORE that fabric.
Oh - and great man-bag tote.
Love your preschool bag - the fabric is perfect!
ReplyDeleteThat's a gorgeous backpack - I love it!
ReplyDeleteGreat bags. The colour schemes are fabulous. My boys would LOVE the top one.
ReplyDeleteWhat fun bags! I love the train fabric. I live right next to a train, and I love seeing all the parents with their kids in strollers waiting for the next train to come through. There's something so fascinating and childlike about trains...
ReplyDeleteThose are nice backpack and satchel.
ReplyDelete